摘自:
http://www.rcuniverse.com/forum/ ... chor/tm.htm#3262171
My first ‘personal’ experience of a Gasser. The GSR260 .
 . .
This is the bit where my wife screeches “WHAT THE F**K IS THAT!?
Then I silently count 4 seconds in my head anticipating the next question “HOW MUCH DID IT COST?” – this is where I start to explain the once in a lifetime deal I got that I just couldn’t say no to… you know the drill – after all, it was too big to hide from her and blend it in with all my other stuff
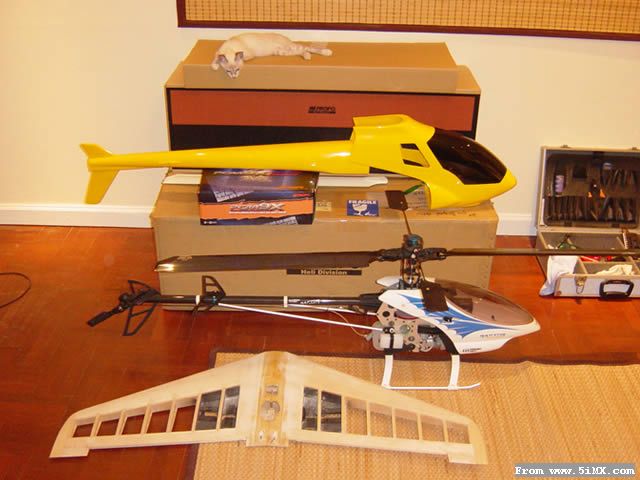
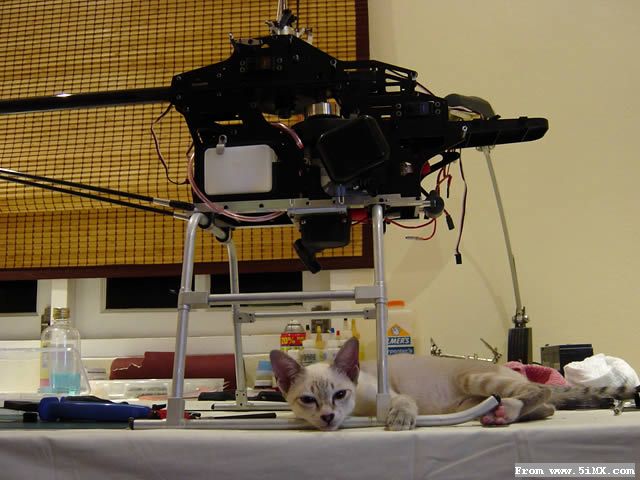
The box is pretty big. That top box that the kitten is on just holds the boom (CF). The box under that holds the nose & tail Canopies.
laying the fuz pieces out gets me excited already!! Note R60 & incomplete Patriot 40 wing for size ratio guide. 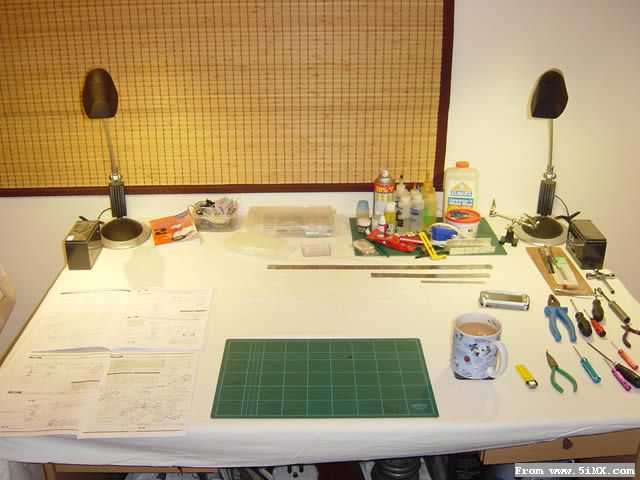
11pm
aaaahhhhh… all set, cup of tea, tools at the ready, nice clean work surface (it took around 2 anxious hours to clean the table top of all the Patriot 40 plane pin board and specific tools before I could even start the GSR.) I like to keep a couple of small plastic boxes on my work area and put all bag contents into them as I go through the manual. I like the bag labelling system JR use, not all kit manufacturers do that, nice when they do.
Bottom left shows the two manuals you need to continually cross-reference. There is also an “errors sheet” (3 very minor things). I highlighted the relevant pages that had an error first while reading through front to back before opening any bags (good practice). One of the manuals is the old GS Voyager version as it is currently the closest they have to the GSR construction manual in English. The Manual for the GSR260 is all in Japanese and if like me your Japanese is “rusty” you need to keep switching from one to the other… I would say that for the sake of paying a translator a few hundred bucks to write an English version would be well worth JR’s investment since I believe the building takes a considerable amount more time than it need to (and @ $1900 you would think they could splash out a little . Most sections in each version of the manual are very similar if not the same on a few pages but obviously it is the things that are NOT the same that are important. There isn’t really anyway to work out what is going on in a few Japanese sections that are not covered by the GS English manual. So far, that is the most avoidably stupid thing about the kit.
Reminds me of back in the day when I used to race RC cars. The Schumacher buggy manual used to all be in Japenese too, think it was the Schumacher one, can’t remember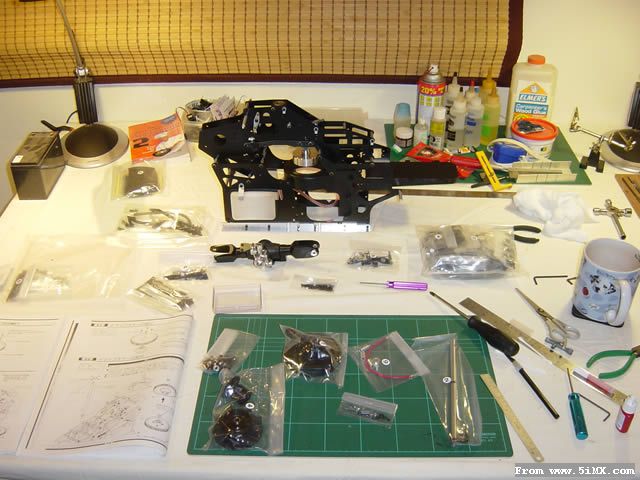
6 hours into the build.
Main frames and upper frame unit completed. Bit of a balancing act when lining up bolt holes between lower frames and upper frames The holes lined up perfectly with all spacers, just need 3 hands to hold upper frame in place over lower and hold hex spacer in place and thread the bolt through all at the same time.
FYI – when I called my wife in to help hold the upper frames for me, I got her to make me more tea, you may have noticed in this picture my tea has already been filled and emptied about 8 times by this point.
I started building this at exactly 11pm so this picture would be at around 5am.
12 Hours into the build and all the main bits and pieces are completed. Servos are in, skids are on (those skid clamps are a tight old fit!!). The tail is pretty much done at this point, just need to start trial fitting the tail fuz around the tail control rod clamps.
Engine is in (roughly).
Still need to make all the ball link rods up but my hands and fingers are raw to the bone already getting that lot together, just can’t take the pain!.. Gonna have some kip and hope my fingers are back into action tomorrow night.
Very nearly finished now. Look at this junk!
The second I saw this thing through the unopened bag I instantly tossed it back on the floor and muttered “yeah… right… as if…”
Any educated opinions on good quiet pipes? Would rather it be quiet than HP as this is my replacement Commercial Cam Ship so need to keep the noise levels as low as poss. Suggestions and maybe links to products would be massively appreciated.
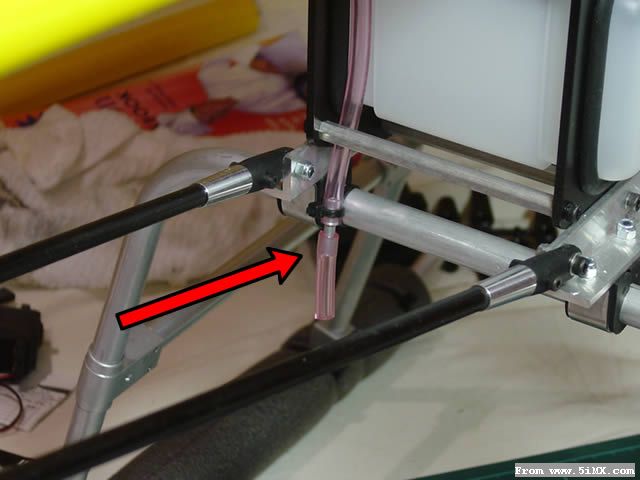
is this correct? And the same thing with the other vent on the carb yeah?. From what I can work out from the instructions, there is no pressure feed from exhaust to tank yeah? Currently I have the top nipple on tank as picture and the one on the carb the same at the front – please let me know if this is incorrect.

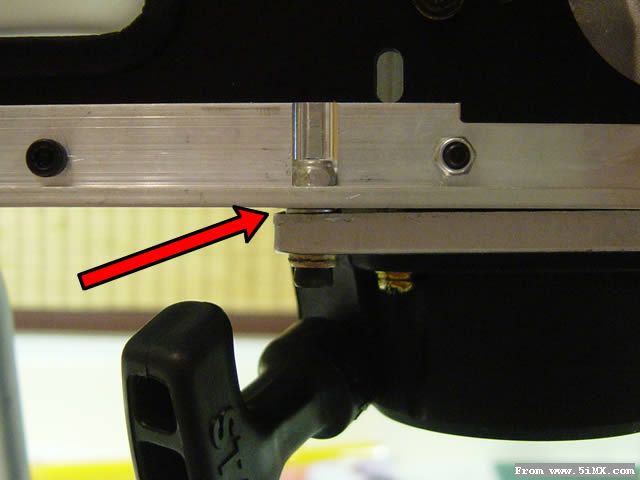
I found I needed a washer to adjust the angle of the engine very slightly to achieve a perfect alignment between engine and clutch bell whilst maintaining good gear mesh etc.

here you can see where I have crimped the tail control link. I don’t have much confidence in this type of connector; I have had a bad experience with one before on a different model. I used 30 min epoxy after sanding (to roughing up only) with 150 grade sand paper. Then I used a pair of pliers and gently crimped the connector in several places. I am hoping this will give me a little more security – I have done this both ends (because the air cannot escape when you insert the CF rod into the threaded connector, they keep wanting to pop back out b4 the epoxy sets, I crimped them slightly first to let air out). Please let me know if any of you have had bad experiences with this type of linkage failing.
BTW- the rizla papers in between the gears was from setting up the mesh. Normally 4 layers of the blue type rizla makes a perfect mesh IMHO
Also – note use of S9253 servo on throttle as well as tail, you think this will be ok? I used this servo on my Rappy 60 with a Throttle Jocky pro with the Optical upgrade, thought it would be good to have the throttle slightly ahead of pitch speed to reduce load lag (although with a 26cc engine I am not expecting much load lag )
I chose to epoxy some HD foam as shown as the fuz was very slightly touching the side of the lower frames. I could tell it was going to make an awful noise even with the smallest amount of vibration. The fix worked perfectly both sides and feels rock solid with no “rattles” etc.
I like the tail on this thing. There is very little slop in the linkage. Loads of messing around re-shaping the tail control rod clamps on the tail boom so that they clear the boom-fuz and tail supports & still slide freely.
I have only had a couple of belt driven tailed Helicopters. The majority of machines I have had in the past have been shaft drive. Despite little time with belts vs shafts, I think the belt drive is much smoother, and in some cases quieter when compared to shaft/bevel gear drive sytems. Blade grip holders are kinda plastic/GRP/CRP type material, at first I thought they were anodised CNC Ali, they look like machined Ali.
Is it right both those rubber ‘o’rings go together or one each side of tail pitch slider? It wasn’t clear on the Jap section.
Can anyone recommend a good pair of CF tail blades for the GSR260 ?

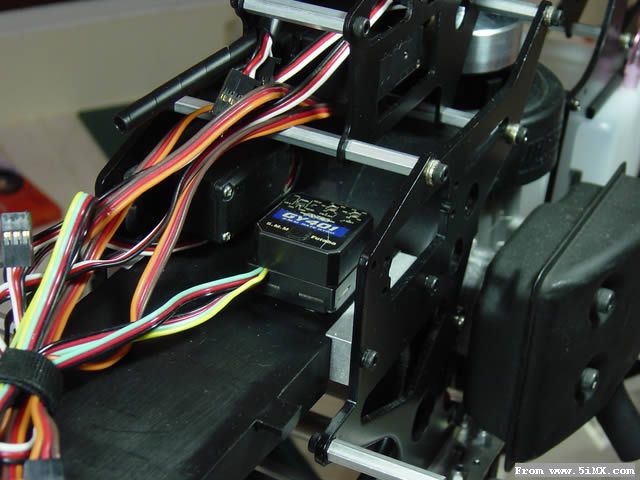
This is where I am planning to mount my 401. I have a 601 but have decided I want to keep the electronics as simple as poss. I also heard that the 601’s don’t like gassers. Please let me know if that is nonsense I have picked up or whether there is anything behind that rumour. Are electronics more sensitive around gassers vs glow? I imagine the coil is simply an inverter as usual so does it interfere with things like gyros/ receivers etc?
Please share your thoughts on the gyro placement and if you know of any probs using the 401’s or 601’s with gassers.

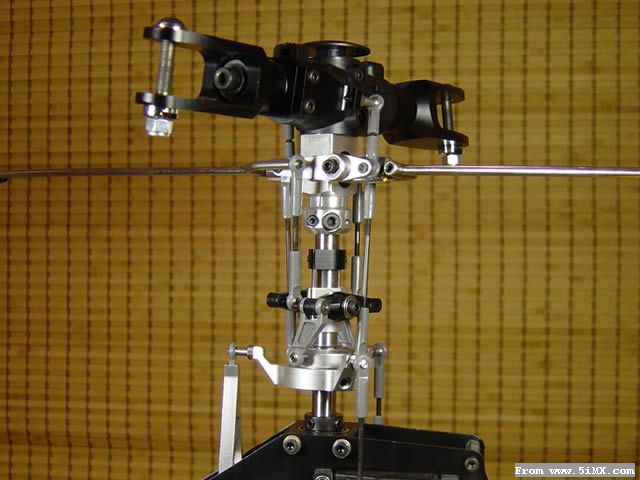
Just about 100% metal head. (not quite though)
Interestingly enough, I have never flown a CCPM chap before. I was really looking forward to this being my first. CCPM just kinda makes more sense to me. It looks like a far more linear based movement compared to the standard 4 point swash. I love this stuff man, just totally slopless, just cant wait to see how it feels in the air, I reckon its gonna hover like its sitting on the table… I wanna eat it! I can often just stare at the marvel of engineering like this for hours. It sends me off thinking about “some chap” who sat down and worked out the whole cyclic control system for the first time. Having started early life as an electronic and mechanical engineer I appreciate stuff like that
The head comes already assembled so I reassembled it re-threadlocking etc as I don’t like trusting factories with stuff like that (like the cardinal rule when passing a firearm to someone and they stupidly ‘ask’ if it is loaded. If you need to ask, you need to check).
The main shaft was a smaller diameter than I had expected. It actually looks to be the same dia as the Raptor 60 shaft. I think the GSR shaft is solid vs the hollow raptor shaft though. (don’t quote me on that )
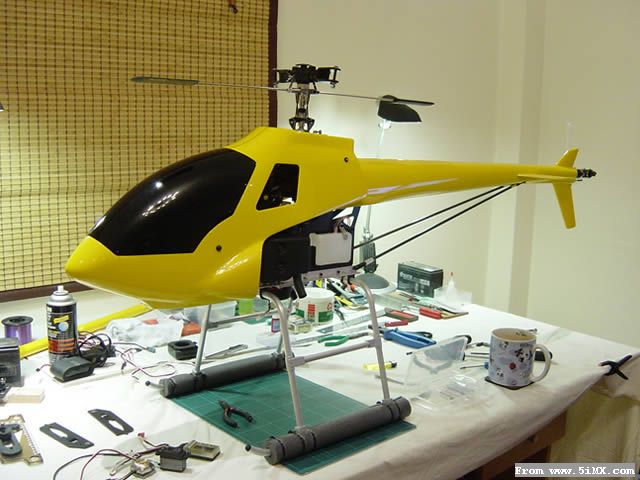
So this is the 99% completed beast in her nakedness. The canopy went on beautifully. I drilled the holes exactly where they were marked on the gel coated surface and the holes lined up perfectly – I love it when that happens!
: |


 /2
/2 


 发表于 2006-9-2 20:39

 收藏
收藏 发表于 2006-9-4 18:47